52 Foods Week Forty Three: Prickly Pear

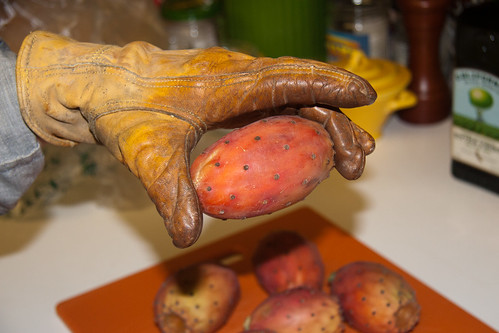
“Gimme danger little stranger, and I’ll give you a thrill,” Iggy Pop sang, and he could well have been referring to the prickly pear, the fruit of cactus native to Mexico and the Western United States. Prickly pears, reddish ovoids that grow off the end of flat cactus pads, are dotted with tiny spines that easily become lodged in skin, leading to their foreboding name. Inside the unfriendly peel, the fruit is mildly sweet, with a flavor somewhat like kiwi, but less tart. I picked up six of the spiny fruits the Towani Organic Farm booth at the Farmers Market.

Handle with Care

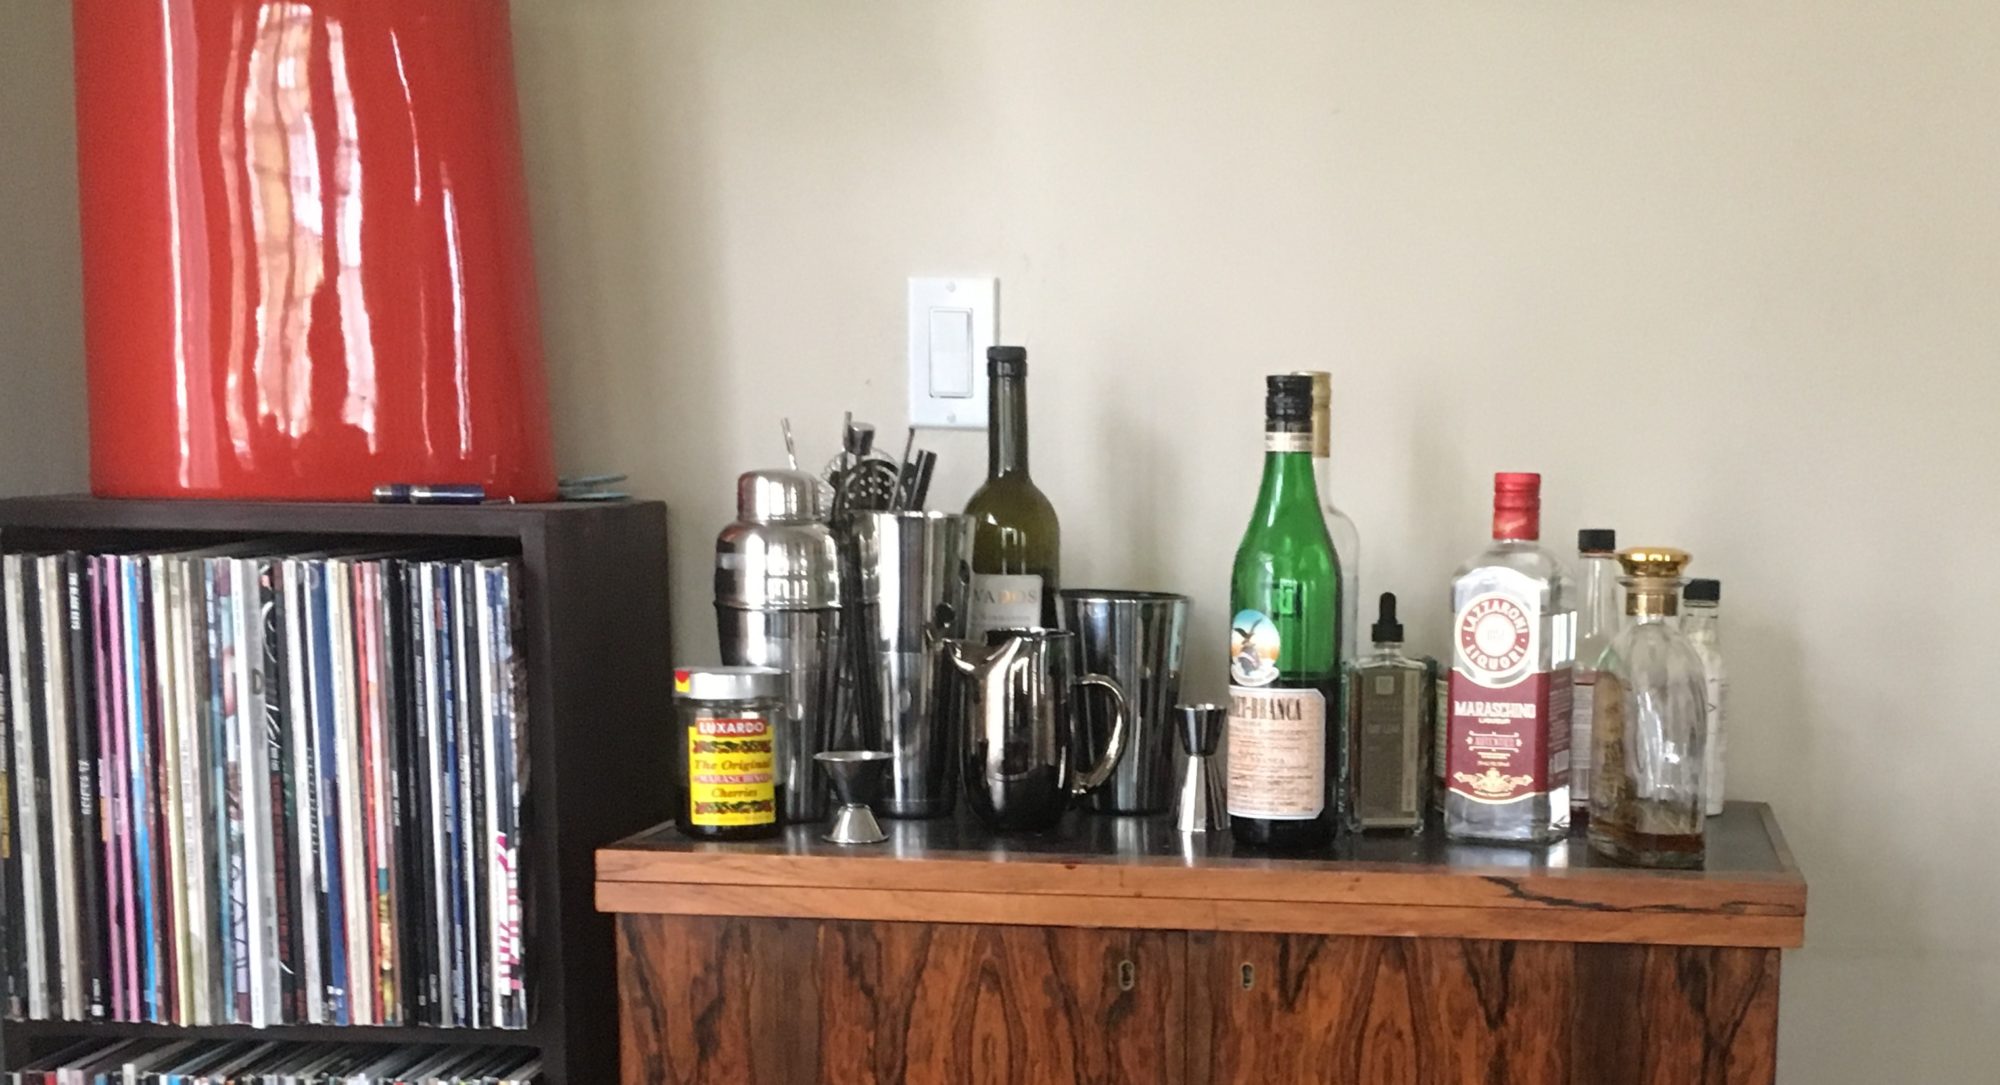
When I was a child, my grandmother had a collection of drinking glasses with images of cacti and a description of the prickly pear. They were actually old jelly jars, for what, I assume, is a long forgotten prickly pear jelly brand. Until recently, I had never noticed any prickly pear products and definitely had not seen the actual fruit for sale. I considered trying to make a jelly, but figuring that my collection of prickly pears was a bit small for a good batch of jelly—and noticing that many people liked the juice in cocktails—I decided that a prickly pear gomme syrup might be a better project.

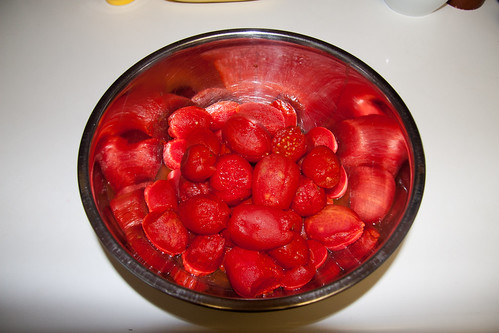
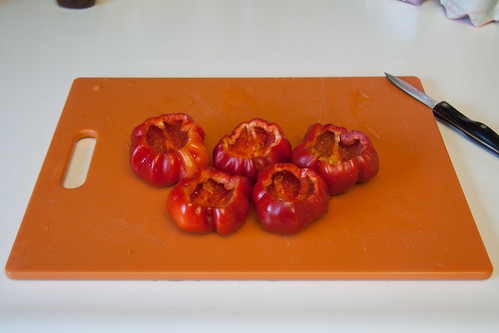
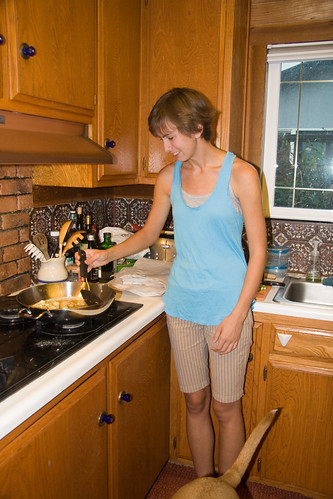
I began by peeling the prickly pears, a process that involves slicing off both ends, then cutting a slit the length of the fruit and carefully peeling the skin back with a gloved hand.

Cut Slit

After a little work, I had six peeled prickly pears ready to purée in the food processor.

Blend in Food Processor

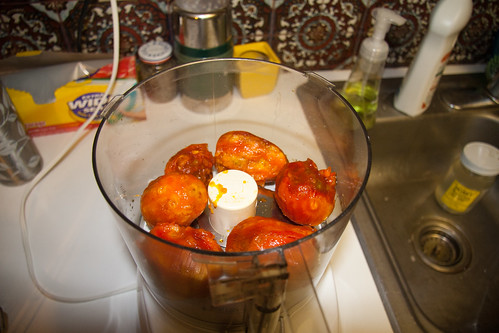
I strained the purée through a mesh sieve, collecting the large, hard seeds. Six prickly pears yielded about a cup and a half of juice. I put the juice in a sauce pot and added a cup of sugar, bringing it slowly to a boil.

Cook with Sugar

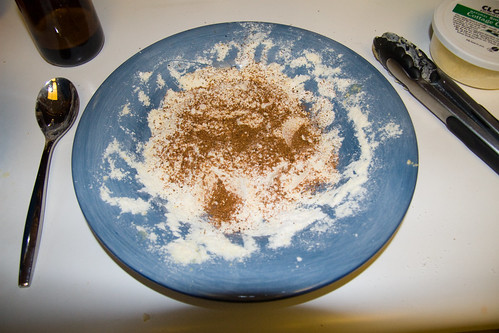
When the sugar dissolved and the syrup reached a boil, I reduced the heat and added some gum arabic powder. Gum arabic, which is easiest to find in the bulk section of health food stores, is an emulsifier that makes very silky syrups, typically called gomme syrup or just gomme. I stirred the simmering syrup continuously to dissolve the gum arabic, but foolishly used too much, which required extensive straining. Had I been more conservative with my measures, after about 5 minutes I would have had a smooth syrup with all the sugar and gum fully dissolved.

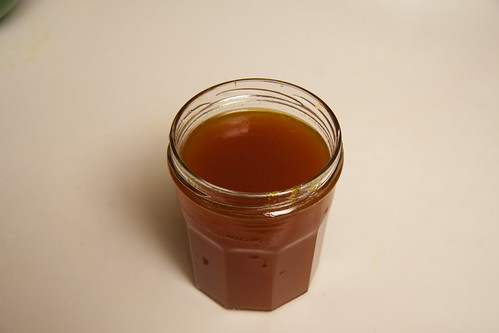
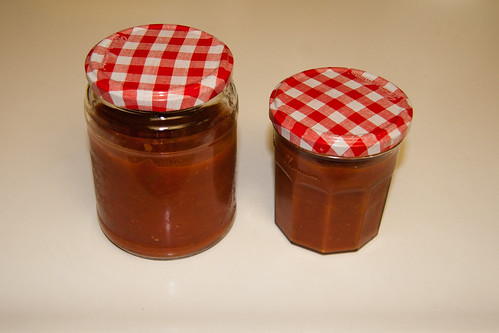
I strained the prickly pear gomme into a small jar and added a tablespoon of orange blossom water to round out the flavor. It’s very smooth, with a well balanced sweetness and fruitiness that can only be described as cactusy.

All the photos are here. A cocktail recipe will follow once I find something I like.

Prickly Pear Gomme Syrup

6 prickly pears
1 cup fine sugar
2 teaspoons gum arabic
1 tablespoon orange blossom water

Carefully peel prickly pears and purée in blender or food processor. Strain out seeds, and slowly heat purée with sugar in a small sauce pot. When mixture comes to a boil and sugar is fully dissolved, reduce heat and stir in gum arabic. Keep stirring until fully dissolved. Remove syrup from heat and let cool. Add orange blossom water and refrigerate. Syrup should keep two to four weeks.

Prickly Pear Syrup

52 Foods Week Forty Two: Tomato

With the school year in full swing and a busy month of birthdays, out of town guests and costume parties, it’s sometimes hard to carve out time to cook. Fortunately, this lack of time coincided with the end of tomato season, a confluence that naturally led to cooking a big batch of tomato sauce that we could freeze for nights when boiling pasta water is about all the cooking energy we can muster.

Tomato sauce was at least a weekly staple in our home when I was young, and it was also one of the first things I learned to cook after going to college. My recipe, which has served me well for over a decade, uses tomatoes, an onion, a few garlic cloves, salt, red wine and a whole lot of (ideally fresh) rosemary.

We ordered a load of roma tomatoes from Gauchito Hills Produce, a CSA started by a couple of our friends. Ripe roma tomatoes are ideal for tomato sauce, having a great balance of flesh and juice. The end of the season romas were soft and super ripe. I couldn’t wait to get them peeled and into a large pot.

I washed the tomatoes then cut an X on the bottom end of each one and placed them in a pot of boiling water to loosen the skin.

Sliced On the Bottom

After each tomato had soaked for five or ten minutes, I pulled them out and let them cool to where I could remove the skin. I sliced the tops off them as well, and soon had a large bowlful of whole, peeled tomatoes.

Peeled Tomatoes

I chopped an onion and peeled and smashed five or six garlic cloves then tossed those in a large pot with some olive oil to sauté. On top of this, I added three sprigs of fresh rosemary.

Onion, Garlic and Rosemary

After the onions were translucent, I poured in the bowl of tomatoes, followed by red wine and some salt, then covered them to simmer over low heat for three hours.

Add Tomatoes, Wine and Salt

I mostly left the tomatoes untouched while they cooked, only taking a minute to break them up midway through. After three hours they had caramelized a bit, and darkened to a familiar tomato sauce hue. I removed them from heat and let the sauce cool.

After Three Hours Cooking

When it came time to eat our first tomato sauce meal, I pulled the full batch of sauce from the fridge and puréed it all in the food processor. After reserving a portion to heat for dinner, I poured the rest of the sauce into a couple jars to freeze.

In Jars

We enjoyed the first round of tomato sauce over al dente spaghetti, with some freshly ground pepper and freshly grated parmigiano reggiano.

On Spaghetti

The photos are here.

52 Foods Week Thirty Nine: Red Ruffled Pimiento

The end of summer is truly the best time for the Farmers’ Market, both due to the tremendous selection and the incredible colors of the peppers, tomatoes and zucchini that populate so many tables and produce baskets. Among the notable specimens a few weeks ago were the red ruffled pimientos from Lloyds’ Produce. These pimientos are bright red, about the size of a nectarine and a little squat. I grabbed five of them in a trip that also yielded three pounds of bacon, some heirloom tomatoes and I can’t recall what else.

I picked up so much produce that I actually forgot about the pimientos until a few weeks later, when I uncovered them in our quite full produce drawer. Fortunately, they were still intact—firm and bright red. One thing I could say for these guys before I even tasted them was that they were hardy. I recently made a big batch of meatballs and saved a lot of the meat for later use. The pimientos were about the right size to accommodate a meatball inside, so I decided to stuff them with some of the meatball mixture. I began by cutting the caps off and removing the seeds.

Tops Cut Off and Seeds Removed

I spooned the meatball mixture into each pimiento, filling them to the brim. My meatball recipe is one of my only cooking secrets, but I think any dense ground meat mixture would work, as would Italian sausage. Once stuffed, I put them in the oven to bake at 350ºF.

Stuffed with Meatball

After 30 minutes, I pulled them out and flipped them meat side down. Then returned them to the oven.

Flip

After another 15 minutes, I flipped them back over and covered the tops with shredded parmigiano reggiano, then returned them to the oven for another 10 minutes or so, using the broiler for the last three minutes.

Cover with Parmigiano

The pimentos came out soft and lightly charred around the edges with the cheese and meat browned on top. We served them atop toasted fregola with tomatoes and garlic. The red ruffled pimientos were a little spicier and less sweet than a red pepper, but not hot. The meatball complemented them well, and together with the tomatoes in the fregola created something like a deconstructed arribbiata.

Meatball Stuffed Red Ruffled Pimientos over Toasted Fregola

All the photos are here.

52 Foods Week Thirty Seven: Mission Figs

I’ve mentioned that apricots are one of my favorite fruits, and I underscored that with two additional apricot appearances. In every instance, I combined the apricots with some kind of pork. It’s occurred to me that this trait—call it porcine compatibility—maybe the best measure of my appreciation for a given fruit. This week, to put perhaps too fine a point on it, I’ve chosen another of my all time favorite fruits, Mission Figs, and, lo and behold, combined them with bacon.

The Farmers’ Market is rife with figs right now, a wonderful occurrence but one that can make for tough decision making. I opted for a basket of super ripe figs from Cadena Farm in Esparto, CA.

Ramón Cadena at the Davis Farmers' Market

While at the market, I also picked up three pounds of Bledsoe’s double smoked bacon and a package of lavash bread from East and West Gourmet Afghan Food—also known here as “the Bolani guys”—a great purveyor of Middle Eastern breads and sauces. This acquisition gave me the idea to make a lavash sandwich with bacon, figs and goat cheese. I invited a friend over and we got to work.

I began by cooking seven strips of the bacon in a skillet.

Bledsoe Bacon

While the bacon cooked, we sliced the entire basket of figs into thick slices.

Sliced Figs

Then we laid out the lavash and spread it with Laura Chenel Chèvre.

Lavash Covered in Goat Cheese

I laid out some figs on one end of the lavash, then folded that piece over and arranged the bacon in two clusters with enough space between them to fold one section over onto the next.

Another Layer of Figs

We laid more figs on top of half the bacon, then folded the lavash over until it was a roll similarly in size to a large burrito.

Folded Over

We warmed it for a few minutes in the oven, then sliced and served it.

Sliced Bacon, Fig and Goat Cheese Lavash Sandwich

Figs and bacon are one of the most natural combinations I can think of. The mild sweetness of the figs are a perfect compliment to the smokiness of the bacon. Adding the creamy chèvre to the equation smooths everything out and without overpowering. I think you could really enjoy this combination anyway you wanted, rolled in lavash is just one finger friendly solution.

One note for the future: I would warm the lavash before working with it so that it’s softer and less prone to breaking.

All the photos are here.

52 Foods Week Thirty Six: Okra

I am often impressed by the resolve of Southern vegetarians. To willfully place off limits such a wide swath of one’s regional cuisine would be surprising in any instance, but when that cuisine includes such outstanding dishes as fried chicken and jambalaya and even the vegetables, such as collard greens, have meat as an integral component, it would be hard to fault anyone for renouncing their herbivosity.

One culinary trait I have noticed among my Southern vegetarian friends is both an affinity for and a skill at making fried okra that no omnivore I know has ever demonstrated. I admit to being a bit intimidated by okra preparation, afraid I will create a sticky mess. Lucky for me, as okra season arrived, one of those aforementioned Southern vegetarians expressed interest in helping me make some fried okra for Fifty Two Foods. I nearly stumbled over myself to say yes.

I picked up a pile of okra from Vue Family Farms, and our friend, Anna, brought along a few red okras from another friends’ farm. I handed her a knife and stepped aside while she demonstrated her okra technique. She began by cutting the okra into approximately inch long pieces.

Slicing Okra

While cutting the okra, she instructed me to combine two eggs with a cup of milk in a small bowl.

Eggs and Milk

Next she had me mix two parts cornmeal with one part flour.

Flour and Cornmeal

Soon we had a huge pile of sliced okra. Because there was so much, we had to batter and fry it in batches, which allowed plenty of time to eat one batch of okra while the next cooked.

Lots of Okra

We placed a couple handfuls of okra in the egg-milk mixture and let them soak for about five minutes. Anna says that soaking it removes the sliminess that is the hallmark of poorly made okra.

Soak in Liquid

Next we rolled the okra in the cornmeal mixture.

Dredge in Flour and Cornmeal

Finally, we dropped the battered okra into a pan of hot peanut oil and flipped them frequently so they cooked evenly. When they were crisp—about five minutes—we pulled them out, drained them on newsprint and sprinkled them with a little salt.

Anna Supervises

We made four or five batches in total. After the first couple, we tried adding more spices to the batter. A good spice mix was a healthy dose of “cajun creole seasoning” (paprika, onion, garlic, black pepper, lemon peel, chile, allspice, thyme, cloves, mace, cayenne and bay leaf) along with a few more dashes of cayenne pepper for heat.

For a Spicy Batch

Making fried okra turned out to be pretty easy. What I lacked was direction and confidence, two things that being a vegetarian in the South must really inspire.

Fried Okra