52 Foods Week Thirty Six: Okra

I am often impressed by the resolve of Southern vegetarians. To willfully place off limits such a wide swath of one’s regional cuisine would be surprising in any instance, but when that cuisine includes such outstanding dishes as fried chicken and jambalaya and even the vegetables, such as collard greens, have meat as an integral component, it would be hard to fault anyone for renouncing their herbivosity.

One culinary trait I have noticed among my Southern vegetarian friends is both an affinity for and a skill at making fried okra that no omnivore I know has ever demonstrated. I admit to being a bit intimidated by okra preparation, afraid I will create a sticky mess. Lucky for me, as okra season arrived, one of those aforementioned Southern vegetarians expressed interest in helping me make some fried okra for Fifty Two Foods. I nearly stumbled over myself to say yes.

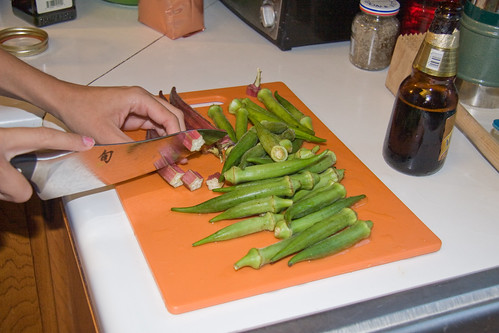
I picked up a pile of okra from Vue Family Farms, and our friend, Anna, brought along a few red okras from another friends’ farm. I handed her a knife and stepped aside while she demonstrated her okra technique. She began by cutting the okra into approximately inch long pieces.

Slicing Okra

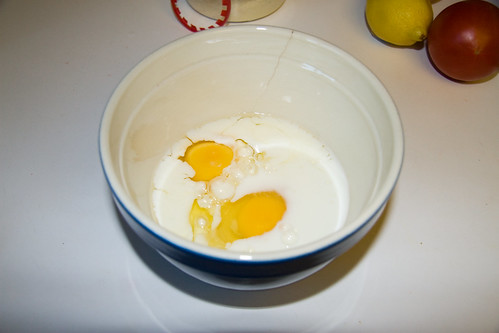
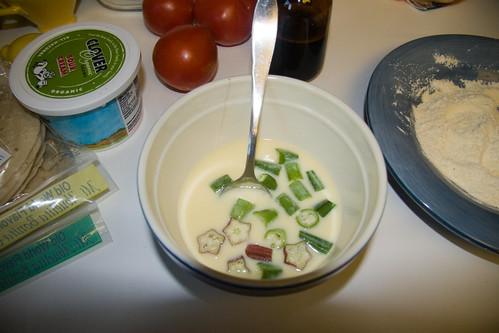
While cutting the okra, she instructed me to combine two eggs with a cup of milk in a small bowl.

Eggs and Milk

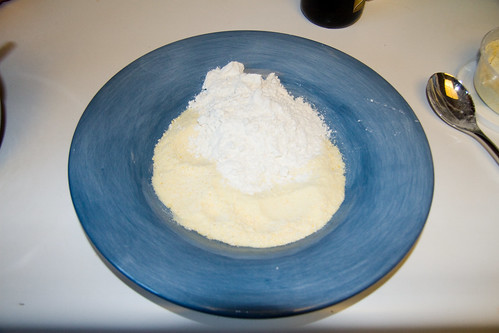
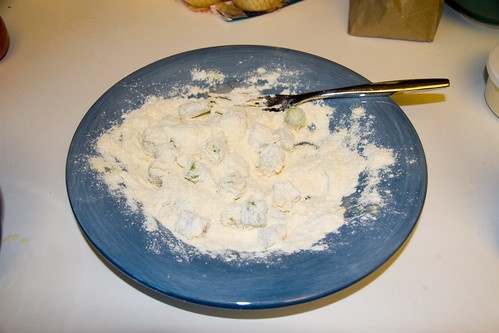
Next she had me mix two parts cornmeal with one part flour.

Flour and Cornmeal

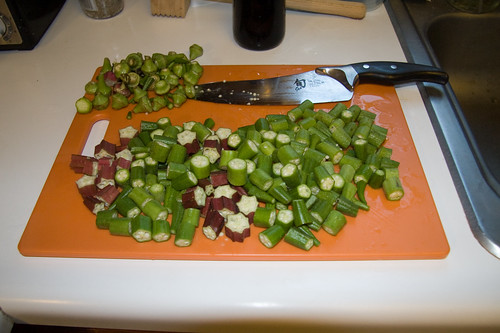
Soon we had a huge pile of sliced okra. Because there was so much, we had to batter and fry it in batches, which allowed plenty of time to eat one batch of okra while the next cooked.

Lots of Okra

We placed a couple handfuls of okra in the egg-milk mixture and let them soak for about five minutes. Anna says that soaking it removes the sliminess that is the hallmark of poorly made okra.

Soak in Liquid

Next we rolled the okra in the cornmeal mixture.

Dredge in Flour and Cornmeal

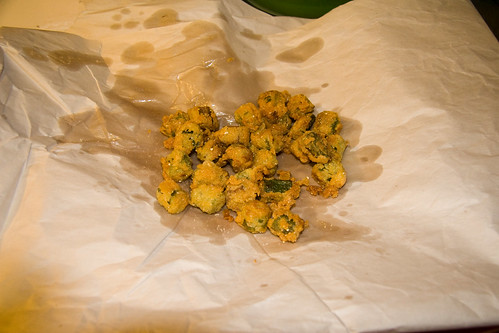
Finally, we dropped the battered okra into a pan of hot peanut oil and flipped them frequently so they cooked evenly. When they were crisp—about five minutes—we pulled them out, drained them on newsprint and sprinkled them with a little salt.

Anna Supervises

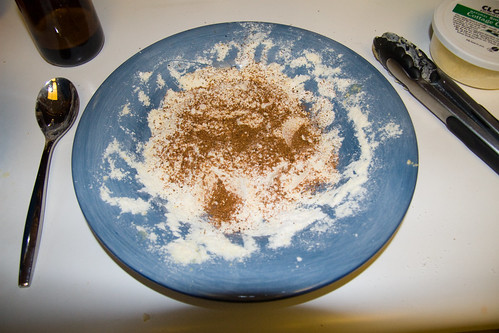
We made four or five batches in total. After the first couple, we tried adding more spices to the batter. A good spice mix was a healthy dose of “cajun creole seasoning” (paprika, onion, garlic, black pepper, lemon peel, chile, allspice, thyme, cloves, mace, cayenne and bay leaf) along with a few more dashes of cayenne pepper for heat.

For a Spicy Batch

Making fried okra turned out to be pretty easy. What I lacked was direction and confidence, two things that being a vegetarian in the South must really inspire.

Fried Okra

52 Foods Week Sixteen: Fava Beans

Shortly after we married, Jen and I built a planter box. It was the tail end of summer, and we planted some flowers to decorate for her birthday, knowing that the next spring we would use the planter in earnest for some vegetables. To protect the soil from an invasion of weeds, we needed a cover crop for fall and winter. From the many options at the nursery, we chose fava beans, looking forward to a tasty crop of beans in the middle of winter. The beans grew quickly—almost alarmingly fast—until December, when Portland was beset by a week or more of White Christmas. The freeze killed the fava beans, whose vigorous stalks seemed to melt with the snow into a sad What-Could-Have-Been.

Other planter box

That winter was the closest I’ve ever come to cooking fava beans, until this week. Strolling the Wednesday Farmers’ Market, which still consists mostly of citrus, I was excited to see that Vue Family Farm had a large pile of robust favas for a mere $1 a bunch. I snapped up one bunch, then added a second. I’m very glad I got the second bunch, because I had not realized how little of the large pods is actually filled with edible bean.

We chose to make “Roman Style” fava beans, which are simply fava beans, onion and pancetta fried together with a little salt and pepper. Incidentally, “Roman Style” is pretty much code for frying things. Rome sounds great. The first step towards our Faba Romana was to shell the beans. The insides of the pods are soft and wooly, and each bean is nicely nestled into its own spot, attached on alternating sides of the pod.

Nestled in a Wooly Shell

Once we had extracted the beans, we blanched them to make removal of their skins easier. The outer skin can be left on while cooking, to be removed by the diner, but since we were mixing them with other things, it seemed easier not to have to deal with that after the fact. Once they were blanched, removing the skins was as easy as gently squeezing them till the bean slid out.

Skinning the Bean

Soon we had a small bowlful of shelled and skinned fava beans that were a shadow of their former bulk.

Skinned Favas

I cut off about a quarter pound of Bledsoe Meats’ pancetta, and sliced it into thick pieces, about 3/4″ square by 1/4″ thick. I threw these in a skillet and cooked them over medium heat until they began to get crispy, and their fat had melted into the pan, about 12 minutes.

Getting Crispy

I then added the onions and cooked them with the pancetta for about 5 more minutes before adding the fava beans.

Add the Fava Beans

The beans only needed to cook another 3 minutes or so. I added a dash of salt and a few turns of the pepper mill, tossed it all around once more and it was ready to eat.

Ready to Eat

These were really good by the forkful as well on some toasted bavarian bread from OctoberFeast Bakery out of Berkeley, CA. As I dug in, Jen assured me I would love Rome.

Roman Style Favas on Toast
All the photos are here, and the pizza we followed it with is here.