52 Foods Week Thirty: Spare Ribs

While strolling the Farmers’ Market a couple weeks ago, Jen issued me a challenge that spoke to both my pride and my appetite: “I’ve never been much into ribs before. Make me like ribs.”

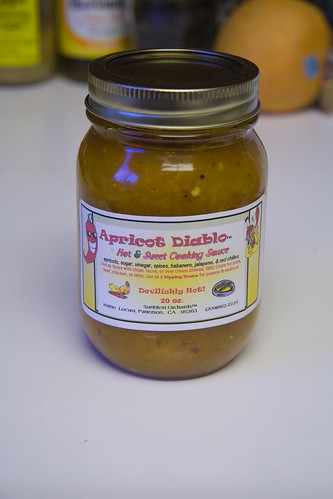
We had just visited the Sunblest Orchards booth, where we picked up a jar of Apricot Diablo glaze—a tasty looking mixture of apricots with habañero and jalapeño peppers and other spices. One of the recommended uses was pork ribs, so we checked with Bledsoe Meats and scored their last rack of spare ribs.

Sunblest Apricot Diablo

Ribs, both beef and pork, have long been favorites of mine, but—an odd experiment with kangaroo aside— I’ve never attempted straight up BBQ ribs. For guidance I turned to Steven Raichlen’s How To Grill and followed his very detailed instructions for preparing pork spare ribs. I’d encourage anyone interested in grilling a wide variety of foods to pick up this book, as he covers all sorts of foods with many discussions of technique and excellent photographs demonstrating key steps. If I gloss over any of my prep steps, it’s only because I’m trying to exactly follow his lead, and you’d do better to go directly to the master than to work from my imperfect first attempt.

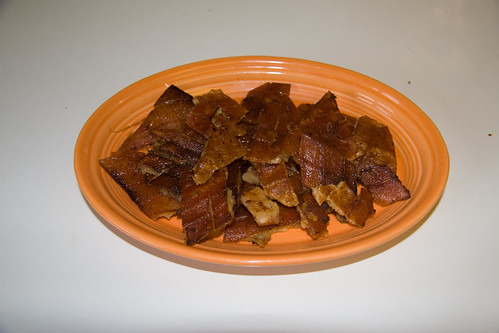
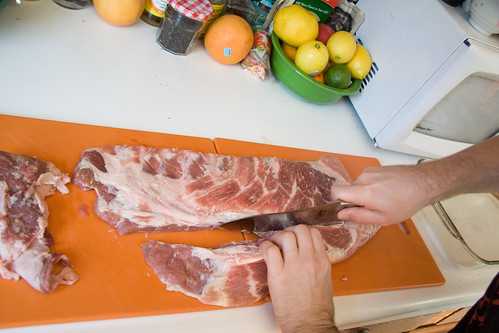
To begin, I trimmed the cap and rib tips from the rib rack. I also did my best to remove the membrane from the back of the ribs. When we ate the ribs, I discovered that I did not perfectly follow the line of the rib tips, and cut through a couple of them, leaving them on the rack. This isn’t really a problem, but as a matter of technique, it was suboptimal. In the future, I’m going to take a little more time with that step to get it down pat. I kept the rib tips and the cap and cooked them up the next day Vietnamese style.

Removing the Rib Tips

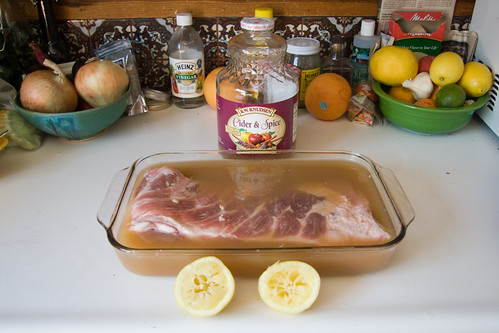
Following Raichlen’s advice, I submerge the ribs in apple cider and the juice of one lemon, covered them, and put them in the fridge for about five hours.

Marinading

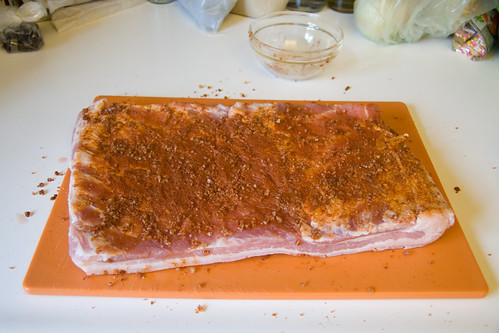
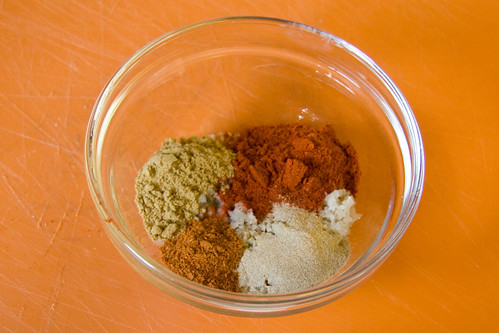
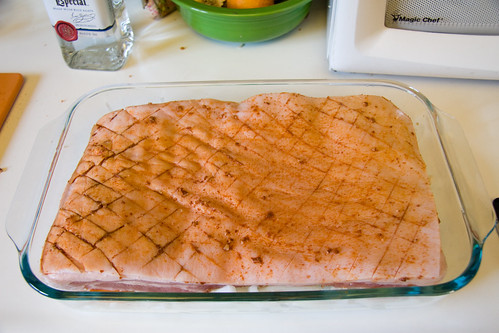
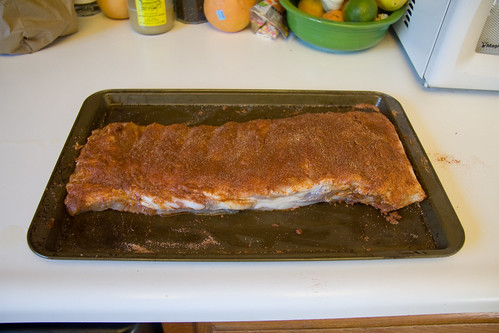
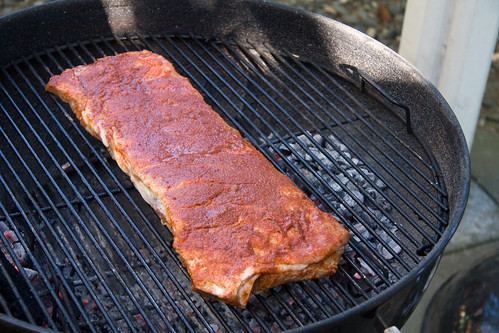
When the ribs were done marinading I patted them dry, then covered them with a spice rub of salt, garlic salt, paprika, cumin and cayenne. In the future, I would omit the salt from this, as the ribs came out saltier than I wanted. In general, I’ve discovered that I tend to underestimate the power of salt in my rubs. I’m working on it and the first step is acknowledging I have a problem. The ribs went back in the fridge, covered, for close to three hours.

Rubbed Ribs

When it came time to cook, I fired up the Weber with mesquite charcoal arranged for indirect cooking. I placed the ribs in the center of the grill, with the coals to either side, then threw a handful of soaked and drained pecan wood chips onto each charcoal pile. Pecan is one of my favorite cooking and smoking woods. I find that it is similar to applewood, but a little stronger. It shines in a 50/50 split with oak when we make our famous Thanksgiving turkey, and works well to add a sweet smokiness alongside any charcoal you prefer, or on its own if used in larger chunks.

On the Grill

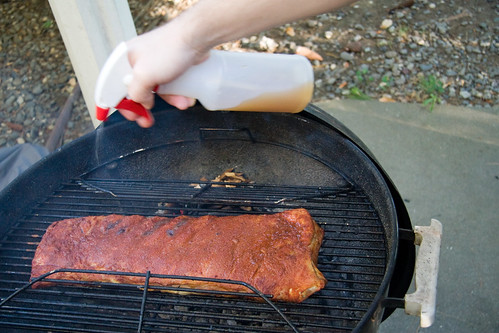
Following Raichlen’s advice, I sprayed the ribs with more cider every 20 minutes.

Spray with Cider

I also added a little extra mesquite and pecan every hour to keep the heat and smoke going.

Add Coal Every Hour

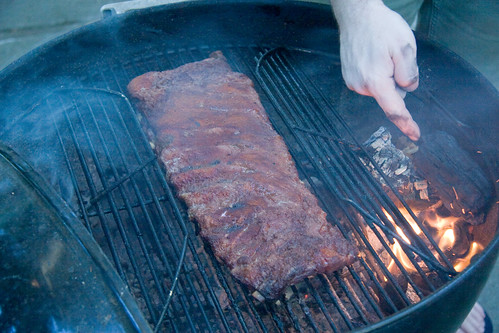
As we reached the final 30 minutes of cooking, I covered the top of the ribs with a generous layer of the apricot glaze, kicked the smoke up a notch and closed the vents to let things get nice and smokey.

Applying apricot sauce

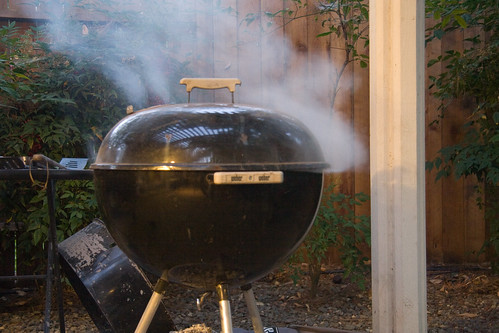
We set the table, basking in the evening heat and watched generous billows of pecan smoke escape the grill.

Last Hit of Smoke

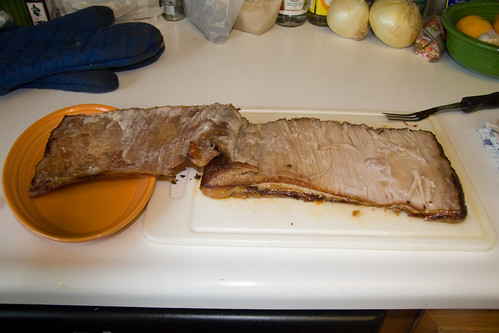
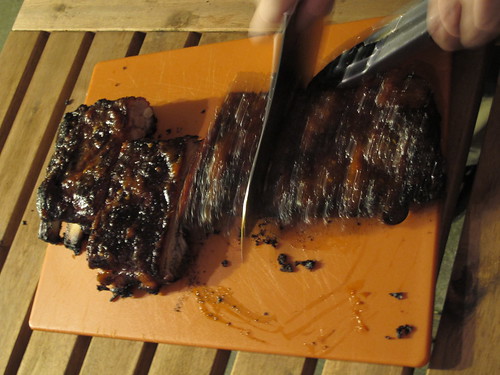
After nearly three hours cooking, I pulled the ribs and sliced them into five manageable pieces.

Cutting the ribs up

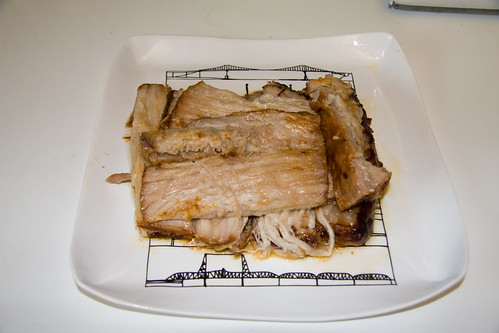
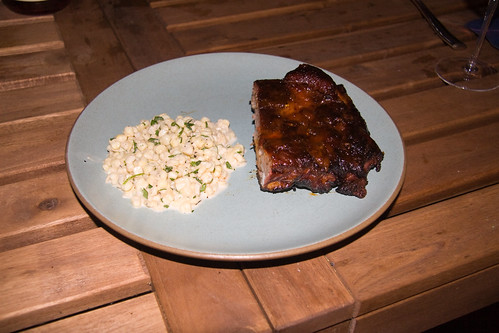
We served them with some homemade corn slaw. Jen happily gobbled up her first set, and reached for seconds. Success!

Spare Ribs and Corn Slaw

Photos can be found here and here.

52 Foods Week Twenty Four: Pork Belly

When I began Fifty Two Foods, there were a few foods I knew I would include. Some of those, such as walnuts, I covered early. Others, like cherries, I needed to wait on until they were in season. This week’s food, pork belly, was another that I knew I would cook from the very start, and while it has been readily available, I’ve held off cooking it, because I really wanted to get it right. Towards this end, I took a first run at it a few weeks ago, and much like collard greens, I learned a few things that have informed my second attempt—a slab of pork belly that is in the oven as I write this.

I’ve enjoyed lots of pork belly in the last couple years, thanks to what seems to be a love affair between it and Portland’s new crop of chefs. One of my favorite preparations comes courtesy of Beaker & Flask, where it is served as a large, tender steak nestled among an ever-changing line-up of vegetables and fruits (my favorite was cabbage and pomegranate, if I recall correctly). This is, in my mind, the high watermark of pork belly. Soft and charred, with fat that melts away and flavor the veggies below. I won’t aspire to achieve this so early in my pork belly career, but keeping it in mind will hopefully guide me towards my perfect home cooked belly.

For my first pork belly attempt, I followed a simple recipe where the pork belly cooked slowly, with a minimum of spices. Reflecting on the finished product, I noted a few places where I thought it could be improved. I cooked my pork belly for 3 hours, but felt that it hadn’t really cooked as long as it should have. There was still a lot of fat under the skin that could have melted and basted the pork, and the flesh was not yet as tender as I wanted it. I also felt like it was a little under spiced, and that the onions imparted very little flavor. My solution to these issues was threefold:

I rubbed spices on both the skin and meat sides of the pork.

Spiced Underside

I set the pork on a layer of onions and apricots.

A Bed of Apricots and Onions

I’m cooking it much longer, 5-6 hours, than last time.

My apricots are Royal Blenheims from SunBlest Orchards in Patterson, CA. SunBlest’s representative at the Davis Farmers’ Market is consistently one of the cheeriest vendors, always good for a big smile and often a friendly comment or two. I was more than happy to pickup 2 pounds of apricots, especially after he gave us a sample—a perfect balance of sweet and tart—that confirmed apricot season has arrived.

Apricots

I quartered a large, yellow onion, then sliced it into thin strips.

Onion

I made a spice rub of salt, paprika, cumin and white and cayenne peppers.

Spice Rub

My pork belly, as before, came from the Bledsoe Meats, in Woodland, CA, surely the nearest and best pork producer to Davis. It’s a 3+ pound slab of hog, with the skin intact. Sitting on the cutting board it was pure pork potential—ready to be slow roasted or made into bacon, pancetta or another smoked marvel. I scored the skin on both diagonals, so the fat could bubble up and create crispy cracklings.

Scored Skin

I covered both sides of the pork belly with my spice rub and laid it atop the apricots and onions, which were doused with a helping of silver tequila to keep things moist. Then I placed the pan in the oven to cook slowly at 250°F.

In the Pan

Update at 5pm: Just passed the three hour mark, and I’m kind of shocked that this was about when the last pork belly came out. The skin is definitely starting to get crispy, and a lot of fat has melted out to mix with the tequila, apricot and onions.

Rotated 180º

It took about an hour for the fat to start melting. Then another half hour before there was evidence of cracklings forming.

Skin Close Up

I’ve raised the oven temperature to 275° to encourage it to cook a little faster, and to make sure the fat simmers enough to keep basting the pork.

Update at 10:30pm: The pork belly took about five and a half hours to complete. I pulled it out around 7:30, and the moment I peeled the skin off the meat, I could tell it was a success. Great roasted pork belly tends to pull apart along the muscle grain, and this was definitely happening.

Skin Peeled Off

I strained the apricots and onions out of the roasting pan, and put them in a skillet on the stove to make a chutney to go alongside the pork. Much of the spice was in this mixture, so it made a wonderful and very welcome complement to the belly, which had taken some of the flavor, but was still relatively lightly spiced.

Apricots and Onions

I cut the pork belly into inch and a half wide slices and layered them on a platter to serve.

Pork Belly Ready to Serve

The skin had a nice snap to it, but I wanted to get it a little crisper, so I threw it back in the oven for a few minutes. Five minutes later, I had wonderfully crisp, but still slightly toothsome pork cracklings to serve alongside the pork belly. They were very well spiced from the rub.

Cracklings

All the photos are here.