52 Foods Week Twenty Three: Ribeye Steak

I’m a strong proponent of the Good-Food-Starts-with-Good-Ingredients school of cooking, and for no food is this truer than beef. Thanks in large part to Portland’s excellent Laurelhurst Market, I’ve gone from being somewhat nervous about finding a good steak to cook at home to shopping and preparing all manner of beef with confidence, whether it’s a large roast or a quick-cooking skirt. My quest for great beef in California led me to go in with some friends on the purchase of a whole, grass-fed cow. We got about 22 pounds of meat, in a variety of cuts, including two handsome half pound ribeye steaks.

Grass Fed Ribeye

Our cow, from Nevada County Free Range Beef, was raised entirely in the hills of Nevada County, CA, and slaughtered and processed at the University of Nevada, Reno. As the New York Times recently noted, California has a severe lack of slaughterhouses, which especially impacts small ranchers. Nevada County Free Range Beef sells directly and doesn’t deliver, focussing on providing high quality, local beef.

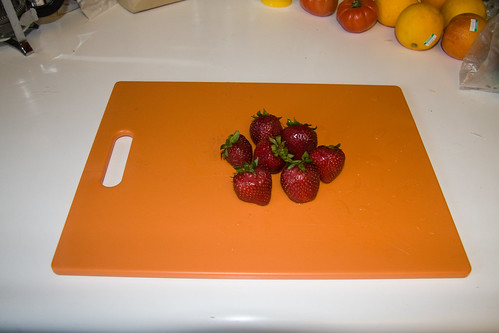
Earlier in the week, I had purchased some strawberries at the Farmers’ Market. While our mesquite charcoal lit, I sliced a few of the strawberries and placed them in a bowl with balsamic vinegar and some crushed red pepper.

Strawberries

We also made up some bleu cheese butter by churning Straus whipping cream into fresh butter, then mixing in bleu cheese in equal proportion.

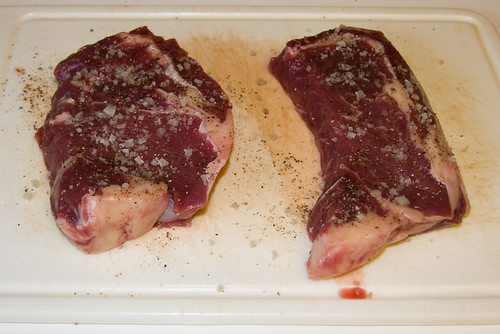
Once the grill was hot, we put some salt and pepper on the steaks, and threw them over the hot coals.

A Little Salt and Pepper

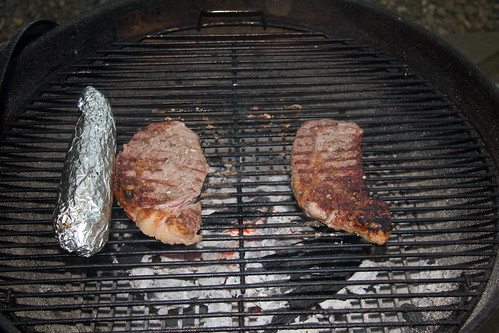
I flipped them after about 30 seconds, and grilled the other side over high heat, before scooting them over a couple inches to a slightly cooler spot.

Flipped Once

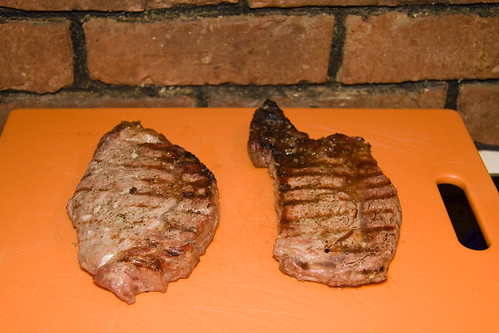
I cooked them for 6 minutes, flipping them every minute, then removed them and let them rest for a few more minutes, aiming for a nice medium-rare.

Finished Steaks

I strained the strawberries and placed them in a dish, then splashed a little more balsamic on them. We placed a healthy scoop of strawberries and butter onto each steak, and served them with a little grilled kale and corn.

Full Plate

Ribeye steaks don’t need much to be delicious—particularly intensely flavored grass-fed steaks—but adding a little sweet-savory interplay with the balsamic strawberries and bleu cheese butter was a great way to dress them up without interfering with the beef’s natural flavor.

All the pictures are here.

52 Foods Week Twenty Two: Almonds

About a year ago, when I made orgeat for the first time, I found myself left with a significant quantity of ground almonds. In the interest of conservation and recycling, I attempted a batch of marzipan. This involved the purchase of a very useful candy thermometer and a tasteless, gritty mass of slightly sugary almonds that stuck in the molds with which I attempted to shape the confection. I realized that my almonds were not ground finely enough—the needs of orgeat and marzipan being different—and that I had likely extracted most of the delicious oils into the orgeat, leaving nothing to flavor the marzipan.

I shed few tears for that marzipan, being that the almonds were the mass-market bagged variety, and not the elegant, fresh ones grown by Sam Cabral & Family Orchard in Orland, CA. I recently purchased far more of the Cabral Family almonds than I know what to do with, specifically Nonpareil almonds.

Almonds

As I learned, Nonpareils are fancy, more flavorful and oily almonds, generally preferred by almond eaters. The drawback to Nonpareils is that they do not self-polinate, so other almond varieties (such as the Prince, also sold by Sam Cabral) are needed in the orchards. According to Wikipedia, California’s almond pollination is the world’s largest managed pollination, with nearly a million beehives deployed in its service.

With this wealth of almonds, I felt ready to conquer the marzipan beast, delving into marzipan theory in order to succeed where I had failed previously. A few themes I noted:

  • Marzipan can be cooked or made without heat. The cold method appeared to have many more adherents.
  • Many, if not most, Marzipan recipes call for almond paste rather than whole almonds. Almond paste can be treated as step 1 in from-scratch marzipan, and one should not aim to go from whole almond to marzipan in one process.
  • There is a slim minority who freak out about the minimal raw egg white involved in proper marzipan making. These people should be ignored, because they want to ruin your food.

A side note on raw eggs: Ever since childhood, I have been allergic to egg whites, specifically the albumen. This is a common allergy, and while mine has fortunately mellowed from violent illness to extreme discomfort, as I’ve aged, it remains a limiting factor in my consumption of egg-based meals. I realized while considering marzipan recipes that, other than baked goods, virtually the only eggs I consume are raw or barely cooked—caesar salad dressing, fresh mayo and aioli, pasta carbonara, and now fresh marzipan. I have never gotten ill from any of these. Some foods need to be raw to be awesome, and, preachy menu warnings aside, we should embrace our immune systems and nature’s shocking ability to be delicious far more often than it is dangerous.

Back to the marzipan, or more correctly, the almond paste. The extremely simple recipe I used called for three things: almonds, powdered sugar and egg whites. Almond extract was optional, and I opted to exclude it. The first thing I had to do was blanch and skin the almonds.

Unlike many other things I’ve blanched and skinned, the almonds were ridiculously easy. 1 minute in boiling water then 30 seconds under cold water and the skins were puckered and completely pulled away from the almonds. A pinch was all that was needed to pop the white almond free. I quickly had 1 1/2 cups of skinned almonds. I saved to skins to attempt a liqueur.

Skinned

I tossed the almonds in a food processor along with 1/2 cup powdered sugar and pulsed them until they were a finely ground powder. My research indicated it was important to make sure that the almonds did not turn into almond butter, at this stage. My experience suggested that the powdered sugar manages to keep things dry enough that this is not a serious danger.
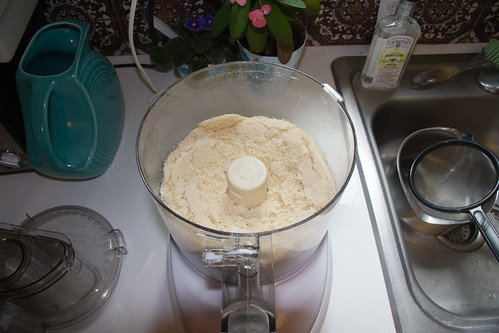
A Fine Almond Meal

Once the almonds were completely ground, another 1 1/2 cups powdered sugar is mixed in. This results in a very dry, powdery mix, which is nothing like paste.
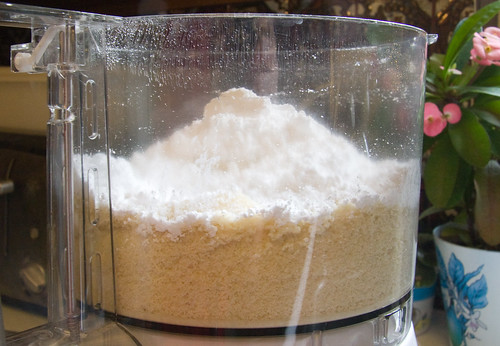
Add the Rest of the Sugar

The magic in this process is the addition of the egg white. I poured it in and fired up the processor and within seconds the dry mix began to come together into a thick, solid paste.
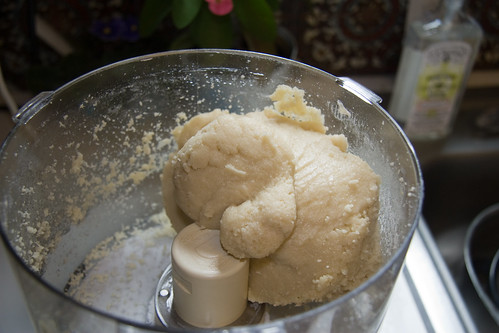
Add the Egg White and it Comes Together

Once this was nicely formed, I removed it and rolled it into a small log. Almond paste complete!
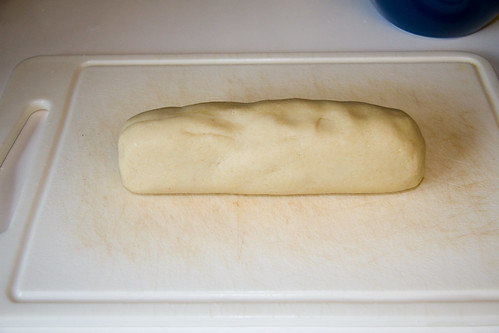
Almond Paste

To make the marzipan, I switched the food processor to the dough blade.
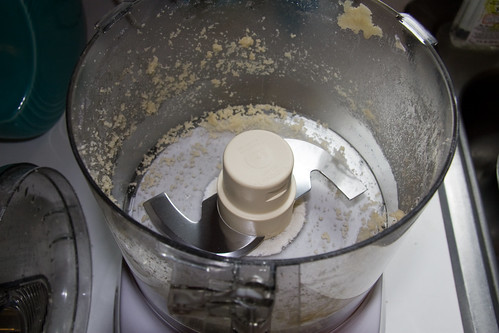
Switch to the Dough Blade

I sliced the almond paste into 1/2" pieces and dumped them into the food processor. Then measured out more powdered sugar (3 cups) and separated and beat 2 more egg whites.
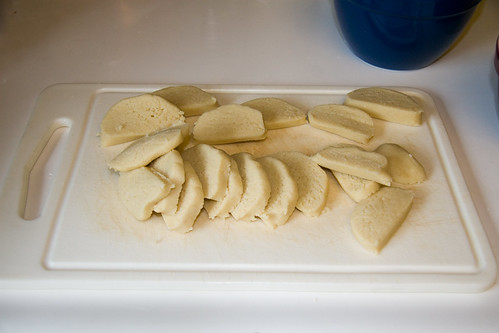
Sliced Almond Paste

I dumped the sugar on top of the almond paste slices and fired up the food processor, scraping the sides frequently so that they mixed together evenly. The almond paste combined with the sugar to form many fairly dry clumps.
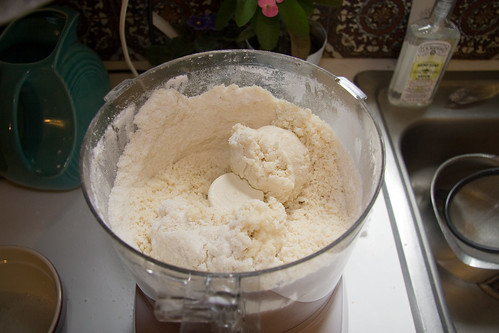
Mixed Together Sugary Almond Clumps

Once these were fairly uniform, and the sugar was largely mixed in, I began adding the egg whites while running the food processor. I added the whites slowly, maybe 1/2 an egg at a time, and the marzipan quickly came together into a large band. It probably took 1 1/2 egg whites, but I didn’t really have a way to measure my exact egg white usage.
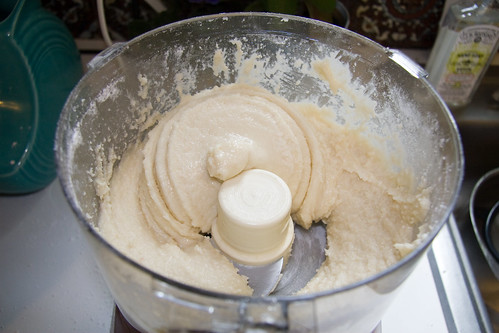
A Little Egg White and it Comes Together Again

I removed the marzipan from the food processor and placed it on a powdered sugar covered cutting board. I dusted my hands with sugar, then worked the marzipan for a couple minutes into a smooth ball. I placed it in a bowl sealed with plastic wrap and refrigerated it. I also took a small taste, and was very pleased.
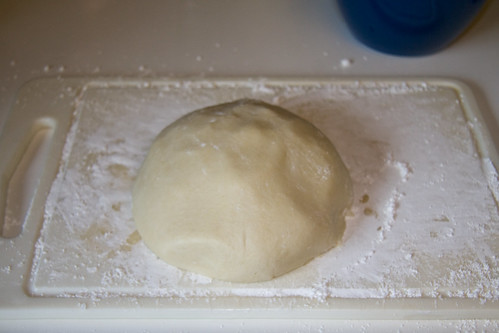
Kneaded Marzipan

Endowed with a couple pounds of almond and egg bound sugar, I needed to come up with a presentation and consumption method that would be both elegant, and small enough that it would not kill anyone. I settled on making some marzipan truffles* by shaping the marzipan into small pieces and covering them in chocolate.
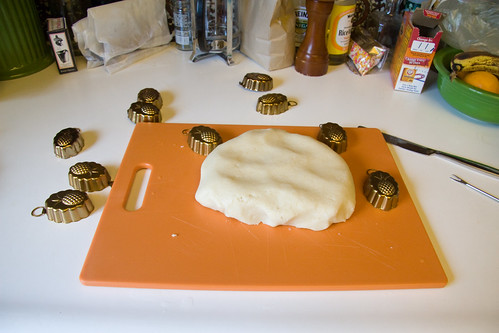
Pounded Down

As luck would have it, I was able to consult a new acquaintance who happened to be trained as a pastry chef on the proper way to make chocolate shell coating. Her instructions were pretty easy: melt the chocolate until a few shards remain solid, then temper it by scraping it up the sides of a ceramic bowl. Then dip/roll the marzipan in it and place on a greased surface to dry. Her instructions also called for a chocolate fork, which I did not have, so I substituted a corn holder. It worked well enough.

For chocolate, I began with Scharffen Berger’s Bittersweet Baking Bar, but ran out of it half way through the marzipan coating and reloaded with Nestlé Semi-Sweet Morsels for the second round of chocolate coating. I’m not sure that I can visually distinguish between them, but I would expect the first round to be a little bit more bittersweet than the second. I melted the chocolate in an improvised double boiler.

While the chocolate melted, I shaped the marzipan. Initially, I attempted to use the little Williams Sonoma molds that come attached to their gift wrapping. These were the same molds my first marzipan got stuck in, and it happened again. Even greasing the molds and chilling them in hopes of hardening the marzipan and encouraging it to shrink away from the sides, I ended up with hopelessly mangled shapes when I removed it.
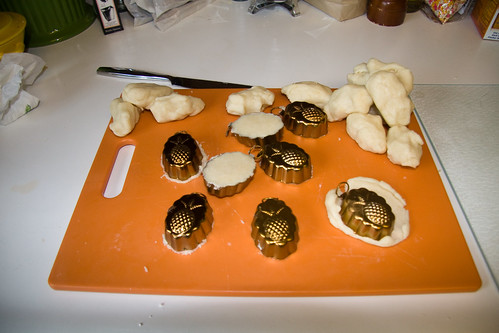
The Aborted William Sonoma Mold Experiment

Since the molds didn’t work, I went with good old fashioned rolling little balls in the palms of my hands. This worked well, and had the added benefit of keeping each truffle under 1oz. which seems like a prudent and healthy choice. I wound up with a little over 40 truffles. These are only some of them.

Rolled into Balls

When the chocolate was ready, I dropped the marzipan balls in, tossed them around then carefully plucked them off the spoon with the corn holder cum chocolate fork.
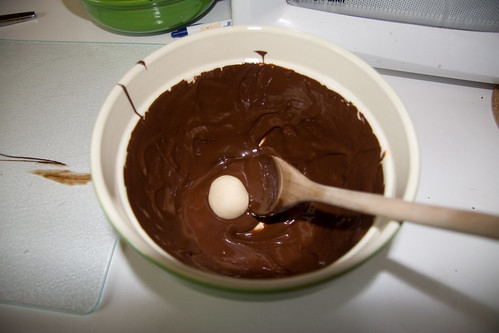
Dip in Chocolate

I ended up with two greased cutting boards covered with truffles and errant chocolate.

Repeat Ad Fatigum

I chilled the truffles for about an hour, then carefully removed them by sliding a thin knife under each one. They were quite almondy, even without the extract, and had excellent texture. The chocolate coating also turned out well—fairly even with a nice sheen. I’d say they look and taste almost professional.

Finished Marzipan Truffles

Check out all the photos here.

  • My dictionary suggests that "bonbon" might be a more accurate term for what I made, but I’m not into splitting hares** unless we’re roasting them afterwards.

** I am, however, fine with bad puns.

52 Foods Week Twenty One: Bacon

Last Saturday, I celebrated my birthday with an epic dance party as envisioned by my 12 year old self. It came off like Young M.C., with tons of early 90s R&B, folks dressed in fantastic neons, silks and bike shorts and above all lots and lots of dancing. This post isn’t really about my birthday, beyond introducing the provenance of this week’s bacon. An earlier Fifty Two Foods post covered a side dish we brought to a pork dinner some friends hosted. Those same friends brought me a truly thoughtful birthday gift of seriously gorgeous, thick cut bacon from the same hog as that glorious dinner.

Birthday Bacon

James Villas, a most laudable food writer, and author of The Bacon Cookbook, writes that “bacon is one of the oldest meats in history,” and that rich history is evidenced in the myriad dishes that use bacon to add flavor and richness. I’ve already used bacon or its cousin in two posts, and I expect it will make a few more cameos before the year is through. However, to truly do a bacon post justice—and, moreover, to do justice to this very special bacon—I wanted to prepare a meal where bacon stands front and center. No other dish succeeds at this like the humble BLT.

BLTs are so ubiquitous, it is easy to overlook the care that is needed to make an excellent version of the sandwich. The lettuce and tomato must both be fresher and more flavorful than in most sandwiches, because they are so central to the overall flavor. The bacon, meanwhile, must be neither so crisp that it makes the sandwich dry nor so soft that it is chewy. My preference is for a few slices of thick cut bacon, that have cooked slowly, achieving an outward crispness while maintaining a slight toothsomeness. The bread should be lightly grilled, with just enough mayo to coat each slice. When these elements all come together correctly, they create a wonderful dance: warm and cool, salty and juicy, tender and crisp.

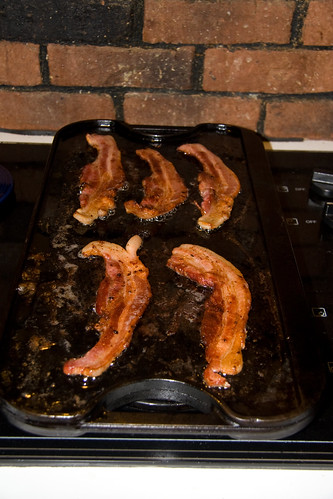
For our BLTs, we began with five impressively thick slices of bacon, cooked slowly on a Lodge griddle.

Bacon on the Griddle

I flipped the bacon periodically and cooked it over medium heat for 30 minutes, shifting the slices if one was taking on color too quickly. When they were finished, they had lost about 30% of their size, and had taken on an even dark brown color. I haven’t had a chance to ask how the bacon was smoked, but I’m pretty certain maple was involved, as they had a very nice sweet aroma.

Almost Done

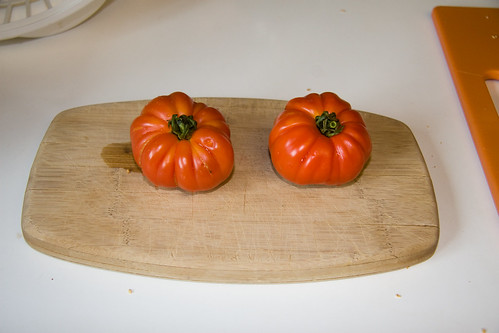
For the tomatoes, we selected two smallish red ones of an unspecified heirloom variety. I sliced them fairly thinly.

Heirloom Tomatoes

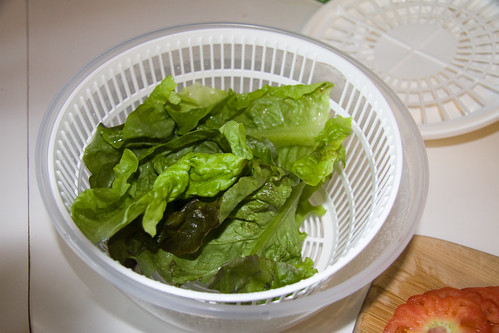
Finally, we used some very fresh green leaf lettuce from the Farmers’ Market.

Fresh Green Leaf Lettuce

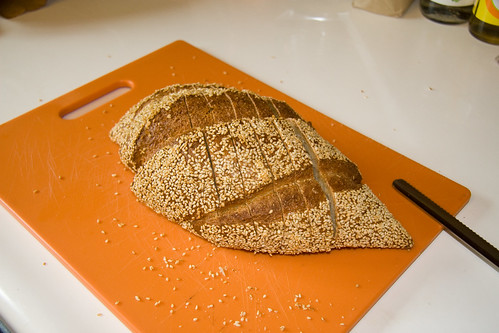
For bread, I took the recommendation of the OctoberFeast Bakery vendor, and chose their excellent Pretzel Bread. I sliced the bread on the diagonal for extra long slices.

Sliced Pretzel Bread

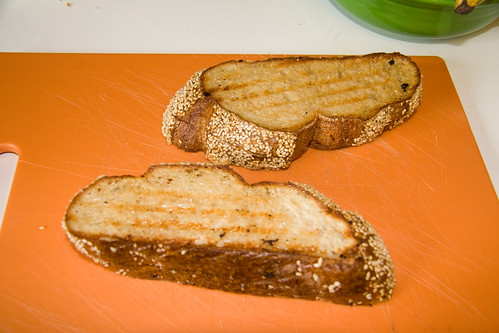
In a fit of decadence, we dipped the outside of each slice in the bacon grease, then grilled them for a few minutes in a panini press. This left the outsides of each piece slightly crispy, while the insides were warm and soft.

Grilled Bread

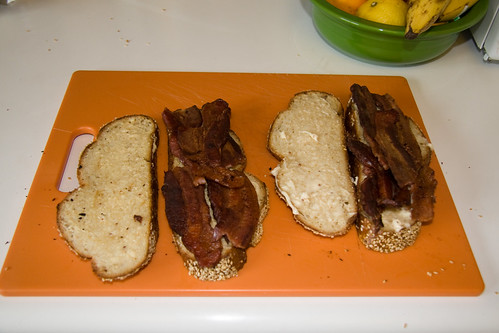
We added mayo to each slice, then added the bacon.

Apply Bacon

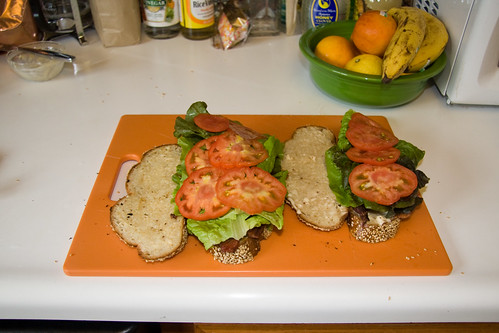
The lettuce came next, followed by the tomatoes.

Apply Tomato

We stuck a skewer through each half and sliced the sandwiches down the center. Then enjoyed.

Up Close and Personal

This was easily one of the best BLTs I’ve ever had. The bacon was simply outstanding—thick and dense with smoke and salt. It offset the fresh, light flavor of the lettuce and tomato perfectly. The bread was also very well matched, and grilling with the bacon grease just amped up the B-factor in a fantastic fashion. My only regret is that there isn’t more bacon.

Enjoy all the photos here.

52 Foods Week Twenty: Rainier Cherries

Each year, when cherries arrive, I revisit a quest to craft a very particular cocktail: a Whiskey Cherry Coke. Cherry cola feels like the quintessential summer soda, and whiskey cokes are a favorite highball in our house. Combining the two was a natural fit, but I wanted to go beyond just mixing Cherry Coke with Jack Daniels, and come up with a recipe using real cherries. Little did I know how hard this would be.

Over the years, I’ve attempted numerous tactics to get the right level of cherry flavor and sweetness into my whiskey cokes. Initially, I muddled some whole cherries at the bottom of the glass. This barely imparted any flavor to the drink, and the sweetness in particular was lacking. Cherry cola has both a distinct cherry flavor and a bit more sweetness than regular cola, so it was imperative to have a very sweet cherry flavor. Next I tried muddling a combination of fresh cherries and maraschinos. This was closer, but maraschino cherries kind of gross me out. I’ve asked bars that have toschi cherries to attempt make me one, but those have a distinct flavor that did not fully meld with the cola.

For this week’s attempt, I’m using Rainer cherries from Joe Gotelli & Sons, a fruit grower in Lodi, CA. Rainers are the sweetest cherries that I could find at the market. They have golden flesh, and their skins are a mix of gold and pink. My previous experiments convinced me of two things: Muddling cherries does not concentrate their flavor enough and the proper sweetness requires an additional ingredient—namely sugar. The obvious move was the make a cherry simple syrup.

I pitted and halved two cups of cherries. Then threw them in a food processor and puréed them as evenly as possible.

Halved and Pitted

I poured the cherry purée into a saucepan and added 1/4 cup of water and 3 tablespoons of sugar. Then heated it very slowly over a low flame.

Purée with Sugar

Stirring frequently, I let the mix cook for about 30 minutes just below a simmer. The red color deepened and it became thicker as the liquid boiled off. As it cooked, I added 1 teaspoon of orange blossom water because it seems to elevate syrups and 2 ounces of delicious Cherry Heering to give the syrup a touch of boozy cherry flavor.

2 Ounces Cherry Heering

Once I liked the consistency, I let the syrup cool a bit, before straining it into a bottle. The resulting syrup still has some fine cherry flesh in it, but most of the solids have been strained out.

Straining the Syrup

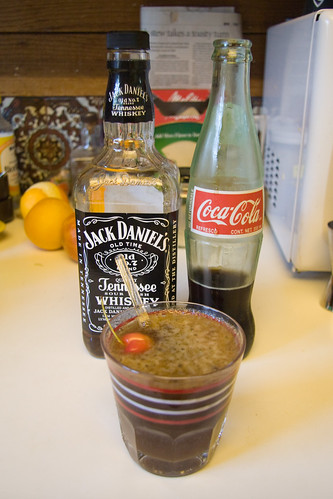
To make the drink, I combined 1 ounce of the syrup with 1 1/2 ounces Jack Daniels. I stirred these up to mix them, then filled the glass with Coke (about 4 ounces) and floated a whole cherry on top.

Whiskey Cherry Coke

I still feel like the cherry sweetness could be pushed a bit further, and this was definitely a bit labor intensive to make a few drinks, but I do think this is the closest I’ve come to my ideal Whiskey Cherry Coke. It’ll definitely do for this summer.

View all the pictures here.

52 Foods Week Nineteen: Spring Onions

When it’s sunny out, it’s a shame to be inside cooking. I much prefer to use our Weber grill, even if it requires a little more work. I’ve loved grills ever since I was a child, when the time spent lighting the coals and making sure that everything was cool afterwards made a simple meal of hamburgers seem like an epic endeavor. There are few times I won’t choose the grill as a cooking option when the weather allows it, and there are few things that I can’t find a way to grill. This week’s food, spring onions, were straightforward enough—all they needed were a couple slices, a bit of oil and about 10 minutes to be soft, sweet and charred—but I wanted to go beyond just the onions and cook the entire pizza that we put them on à la Weber.

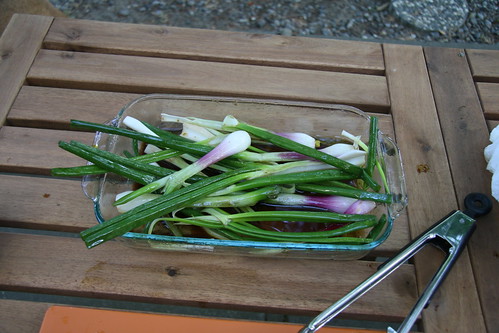
I began with a bunch of spring onions from Good Humus in Capay, CA. Spring onions are somewhere around the half-way point in onion growth, more obviously onions than their green counterparts, but still endowed with tender and flavorful shoots. Their appearance at our markets seems a touch haphazard, but as long as they’re around, I’ll buy them. I washed and trimmed each end of the spring onions and sliced them lengthwise, arriving at approximately foot long halves.

Halved

I tossed the trimmed onions in a mix of olive oil and balsamic and red wine vinegars, then let them soak in it for about 10 minutes.

Dressing with Oil and Vinegar

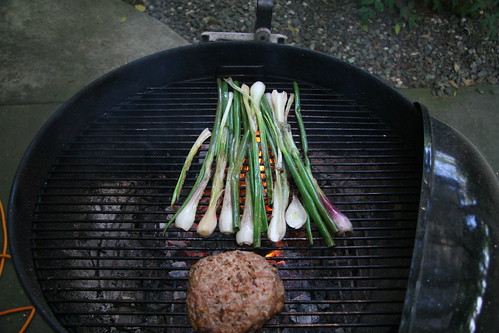
While the spring onions marinated, I threw a patty of Italian sausage on the grill. While this sausage, from the Nugget, was decent, it was called “hot” but tasted “mild” to me.

Sausage Patty on the Grill

I pushed the nicely browned sausage patty over to a cooler area to finish cooking, and added the spring onions to the grill, directly over the mesquite coals. There were some flames as the oil dripped, and the onions sizzled nicely.

Grilling the Toppings

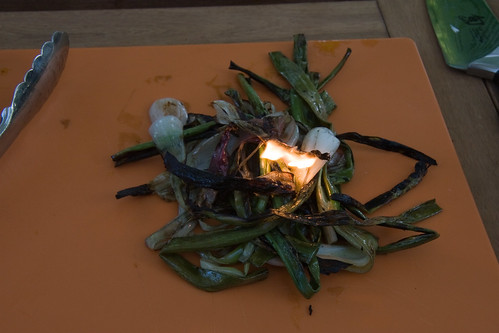
After about 10 minutes, I pulled the onions off. One of them was still flaming on the cutting board—more delicious char.

Flaming Onion

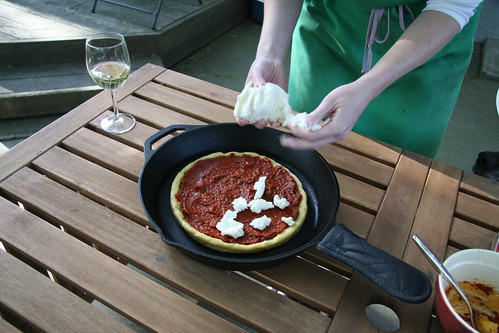
The sausage continued to cook, and Jen began putting together the rest of the pizza. We used a cornmeal crust (also from the Nugget). First came a sauce she cooked up mixing tomato paste, olive oil, garlic, red wine and Italian seasoning.

Pizza Crust with Sauce

Next came some nice, low-moisture mozzarella.

Adding Mozzarella

I chopped up the spring onions and we added those to the pizza. We had a bit more than we needed, so we enjoyed a few straight. The grilling had made them sweet and melty, and the charred bits were just a little crispy. Looking back, the pizza could even have stood on its own without the sausage. The onions really had great flavor and richness thanks to the oil, vinegars and grill.

Spring Onions on Pizza

Finally, we removed the sausage from the grill, crumbled it, and placed it atop the spring onions.

Sausage on Pizza

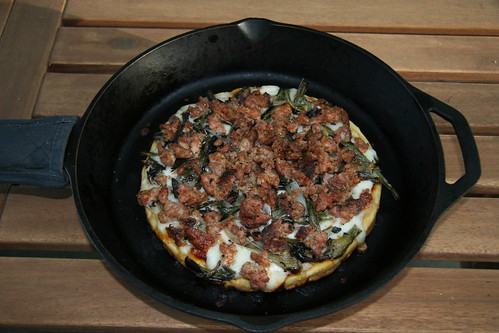
We placed the pizza (in a Lodge skillet) on the grill and let it cook for about 25 minutes, until the cheese was melted and began to turn golden at the edges. It was a delicious dinner, but I did burn my mouth a little on the hot mozzarella, so exercise caution and patience if you make this yourself.
Finished Pizza

All the photos are here.